
As an Amazon Associate I earn from qualifying purchases.
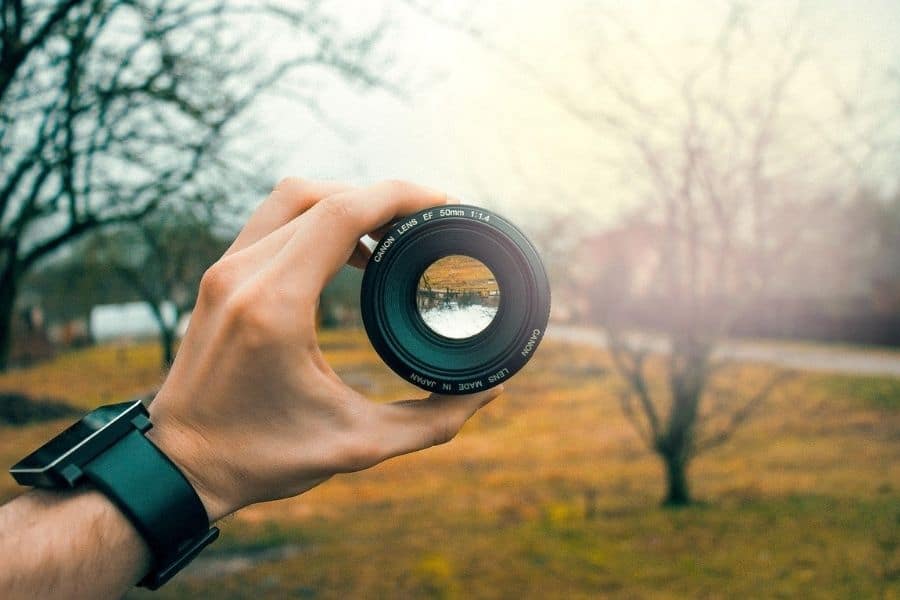
The concern of How to test a camera lens appears to be cropping up ever more regularly on online photo forums these days. Testing lenses is considered to be an excellent technique to ensure that you have received a decent one. When you first bring your lens home, it requires at the very least a basic inspection; used lenses need this requirement much more.
Indeed, there are malfunctioning camera lenses around nowadays, even new lenses from the primary camera as well as lens manufacturers that have been used immediately after being unpacked. As a result, it is preferable to test a camera lens before making a purchase.
Contents
How to Test a Camera Lens
There are many degrees of testing as well as examination that may be carried out. The easiest solution is just to go out and shoot some shots and see whether they turn out well. However, although this works well and has the benefit of allowing you to capture images, it also has certain drawbacks. Here are several tips and tricks to test the lenses in the next section.
Things to test while Buying New Lenses
New lenses can be affected by a variety of problems because of manufacturing errors or shipments. So before buying a new lens, it should be thoroughly tested. Here are the things that you should consider testing while buying a new lens.
Examining the Lens
Although you are going to purchase a brand-new lens, it is better if you test the body part of the lens. You have to do several basic hand-touch tests before the optimal test. Some of this is to ensure that we understand how it will operate, and some of it is to ensure that the lens is in excellent working condition. Here are some basic lens tests below_
1. Glass and Internals
Scratch on the surface of a lens has a lot of impact on the image since it reduces the overall quality. The lens may have scratches on the glass surface due to manufacturing errors, or Scratches may be formed on the glass of the lens during shipment. Examine the front and back parts for scratches, coating problems, and other imperfections.
Although scratch on the front interface of the lens is less critical, scratch on the back element has a significant impact on an image. Then, while rotating the focus as well as zoom rings, take a peek through the lens. If you get a little dust inside the lens, it’s not a big deal. So, make sure there is no dust inside the lens.
2. Zoom Mechanism
The zoom mechanism is one of the significant parts of a lens, and it should work correctly. If the zoom mechanism doesn’t work perfectly, you can take a photo of your preferable way. It is necessary to check the smoothness of the zoom mechanism both when zooming out and when zooming in.
The zoom mechanism of the lens should be such that the barrel smoothly emerges as the zoom ring rotates. Also, make sure the barrel is still not loose when lengthened; it shouldn’t be able to sway back and forth.
3. Mounting Ring
Mount as well as dismount the lens multiple times here on cameras, as well as make sure that the lens appears to be going on easily but securely. Ensure that the lens perched is firm with really no looseness, although it is mounted with both the camera. After all, ensure that the locking clasp catches appropriately and then releases conveniently when you squeeze the dismount button.
4. The Barrel
The lens barrels are manufactured from several different cylinders that have been put together. Under rubber zoom as well as focusing rings, there is also usually a junction, and at the ends of the lens, underneath the filter ring, there’s frequently another joint as well. The quality of the lens will not improve if it is poorly built after a year of usage.
Using a rock or extending each section of the lens, check that all of the mounting holes contain screws in them. The internal barrel should be able to be shifted back and forth effortlessly while zooming and focusing. Inspect the lens to see if any loose screws could be rattling about.
5. Test the Target/Focus
The focus accuracy assessment is performed with a particular focus point that has been chosen. Initially, shoot with the lens at its widest aperture, then shoot again with the aperture adjusted down a touch. The procedure is straightforward: we autofocus the middle at the test objective and afterward check to determine where the most substantial focus truly is on the scale or indicated diagonal line, whichever is appropriate.
At both close and vast distances, every lens has a varied ability to focus. Perform many tests across a wide range of distances. The lowest and maximum focal lengths of a zoom lens are frequently focused in somewhat different ways. First, we must test the lens at its widest aperture at least two distinct points on the zoom axis and at various distances from the test sample.
6. Test Image Stabilization
It’s a fantastic idea to put your personal hands as well as shooting technique to the test. Start shooting a test target with a stabilization system active and off at various shutter speeds. With your hands, see how many pauses you can make. Remember that IS does not operate equally effectively on every shot, so practice a few shots with that is on at various ranges and speeds.
Don’t hold the lens to a fictitious standard such as “since it has 4 stops of stabilization. Simply check whether and how much it helps. The identical IS system produces somewhat varied outcomes for each individual. What matters is that you see just how much you receive.
7. Flare Testing
To do flare tests, all you need is a good deal of direct sunshine. The sun should not be shining straight in your lens but rather at an inclination from one of the corners. Look for ghosts with flare in the picture, and note how much the contrast has been lowered. A thoughtful way to learn about how well a lens works in direct sunlight is by experimenting with it.
Things to Test While Buying Used Lenses
When buying a used lens compared to a new lens, you need to examine it more seriously; in addition to the things that are tested when buying a new lens, there are some other things to consider in the case of used lenses.
1. Scratch and Physical Damage
First and foremost, you have to check the surface of the lens and make sure there is no scratch on the lens surface. A light scratch on the surface of the lens impairs the quality of the picture. So, make sure that the surface of the lens has entirely free from scratches while buying a used lens.
In addition to the surface scratch, scratches on the body, and physical damage are some of the essential issues that you need to consider. It’s relatively unusual for there to be minor wear from hands, sweat, and the weather on a lens’s frame, but dents are no good.
2. Test the Lens Mount
The lens mount is another aspect of the lenses that you should inspect. How worn out is the lenses mount in particular? You can tell how much the lenses have been used by looking at the mount of the lens. Over time, and as a result of usage, a considerable percentage of the mount’s metal wears off.
Although this kind of lens does not affect picture quality or performance, it might give you a sense of how often the lens has been used on one of the lens mounts. As a result, we can anticipate it to be highly utilized, with all of its mechanical parts seeing increased wear and tear.
3. Contact Points and Mount Rings
Modern lenses include contact points throughout them that allow electrical information to be sent from the camera to the lens, allowing autofocus and aperture adjustment. They usually are gold in color, and if the prior owner did not maintain the lens fixed to the frame or the back lens cap on while the lens was not connected to the frame, dirt, grit, and filth might accumulate. Make sure the mounting ring isn’t destroyed while you’re back in the garage.
4. Test Aperture Blades
Before attaching the lens to your camera, check the aperture elements from both the front and rear of the lens to see whether they look in good working order. Alternatively, if the lens has an aperture button on the rear, you may move the lever using your hand to check that the lens folds correctly.
5. Cross-threaded Filters
Filter threads or holes on metal and plastic lenses may be readily cross-threaded, so it’s not pleasant to cope with a lens that does this, mainly if you depend heavily on filters. Before making a purchase, take a thorough look at the filter threads. Preferably, find out just what the filter hole size is in before, and take your filter to test to avoid disappointment.
Frequently Asked Question (FAQ)
How do I know if my camera lens is terrible?
Test the lens thoroughly. If you find any scratch on the lens surface, any physical damage, or even an issue with the zoom mechanism, you can mark the lens as bad. A fungus may grow within a lens if it is kept in a dark, damp environment or if it has been exposed to water.
How can I test my camera lens without a camera?
You can test a lens without using your camera. So, take the lens and check the surface of the lens to make sure that it is scratch-free as well as no dust inside. Rotate the zoom ring to test the zoom mechanism. Shake the lens to ensure all screws are fitted perfectly.
How do you know if a lens is good?
The lens that has no scratch on its surface has no dust inside it, and all the parts, like the zoom mechanism, works appropriately, are a great lens.
Do lenses lose sharpness?
No, the sharpness of a lens does not diminish with age. The optics and glass will not deteriorate, but the seals, coverings, and adhesives may become brittle with time.
Final Thought
No matter whether you will purchase a brand new or used lens, it is better to test the lens and then purchase it. If the lens that you are going to purchase has any issue, you can understand it by observing the lens. Here we discuss several things on How to test a camera lens. If you are in the market to make a new purchase or decide to purchase a used lens, this article will be beneficial for you.
As an Amazon Associate I earn from qualifying purchases.