
As an Amazon Associate I earn from qualifying purchases.
Camera lenses are undoubted, one of the sensitive devices that need to be taken care of. Therefore, when it comes to these bad boys, you got to be a lot more careful and have a maintenance routine for them. Maintenance is important because it will provide a much longer service than you would estimate it to and also, make your images looking a lot sharper and clearer. Here How to take apart a camera lens to clean in detail.
Camera Lens is not something that you buy and leave to rot in your storage but it is something you need to use and take care of once in a while. Lenses can be costly to buy, and if you don’t maintain them very well, then you may end up ruining them. Well, unless you can afford to buy 100 different lenses. But then again, why waste money?
But wait! How would you clean a camera lens? Does cleaning a camera lens only mean to wipe off the shutters and the glasses? Well, technically yes but not really. In order to achieve a fully cleaned camera lens, you would need to take it off from the camera and clean it so forth. One of the most commonly asked questions that lens owners have is how do I take off the camera lens out of a certain DSLR brand?
The answer varies because each brand has its very own unique features and they attach and separate differently, vice versa. The main goal here is to remove it safely from your camera then take off the parts and clean it precisely so it lasts you a longer amount of time.
Therefore, on this topic, we are going to talk about the littlest things that matter and need to be emphasized on while you are maintaining a camera lens. Are you ready to get your camera lens clean like it just came out of the box? Well, me too! So stay tuned till the end to find out how you can achieve that.
Contents
How to take off a camera lens
So when you take the lens in your hands you may be wondering to yourself “How am I supposed to clean this thing from the inside?”. A camera lens certainly possesses very sensitive and complex features that aren’t most likely to be a cup of tea for every other beginner who has never handled a lens before.
So what can you do for that instance? Well, you simply grab a pair of tools dig right in. But before that, you must keep in mind that not all lenses work the same way and each brand has its features. So do not dig right in without reading the up next information you’re about to consume. Below we have listed down a few Camera lens brands and instructed how you can take apart each of these lenses individually.
Canon:
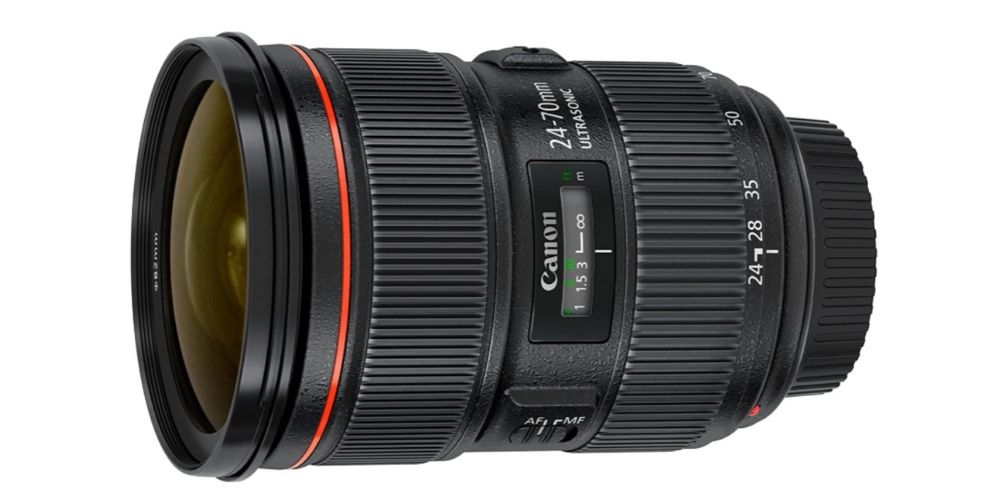
Canon is one of the leading camera lens brands that is dominating the photography industry. The high-quality camera that comes along with the expensive lenses provides outstanding images to the eyes. But when it comes to taking them apart, it can get a little risky. So here’s how you do it.
Instructions:
Firstly, take a pair screw whose ends are flat as a blade but make sure you’re not using something too sharp. Grab that tool and start taking off the elastic band that is slotted right into the borders of the glass of your lens. You need to be extra careful while doing that because if you go overboard or slip your flat tool right onto the glass then you will end up having an ugly scratch on it.
Which is of course, unfixable. So be very gentle while doing so because the band itself is made of plastic and it is no heavy-duty. This is a very flimsy material.
Open up one side of the band and lift it to the other side. This will ensure the safe removal and then proceed to the next step. After you remove it to make sure to set it aside upside down because the other side of the ring-like band is a thin coating of adhesive silicon and you surely don’t want it to get dirty.
The next step is to grab a temporary marker and leave a mark on the side of the lens. You’ll, later on, find out why. Then grab your regular screwdriver and take off the screws from the slot where you removed the band. Make sure to be very gentle when taking off the screws as they are very tiny. Putting too much pressure on the screws while unscrewing it may break the screw slots. And when you’re done unscrewing them make sure to keep them safely wrapped in a piece of cloth or tissue or whatever you feel safe. You don’t want to lose those screws at any cost.
One good tip is to wear rubber or cotton gloves while handling the lens as it will prevent leaving finger marks and prints on the interior of the lenses. Rubber gloves can be a very good option as most camera lens manufacturer employees always ensure to use rubber gloves. The reason being, there is a high chance of lints getting stuck on the interior of your camera lens when you’re using cotton gloves. Hence, rubber gloves seem like a game-changer in this case.
So moving back to the removed screwdrivers, as you once remove your tiny screws set them aside and now all you need to do is get the actual lens out of the plastic body. When you’re doing that, please make sure to take a clean piece of cloth, place it on the glass surface of the lens and turn it upside down. Remember, you can never pull out a camera lens forcefully.
Let gravity do its thing as you hold it upside down. You may never notice but when you gently take off the body out from above your hands, you will observe with enticement that how easily it will come off. Let’s also a ring attached to it. So set it aside, you’ll need it when you need to assemble it again. All you need to do next just clean it off.
Nikon:
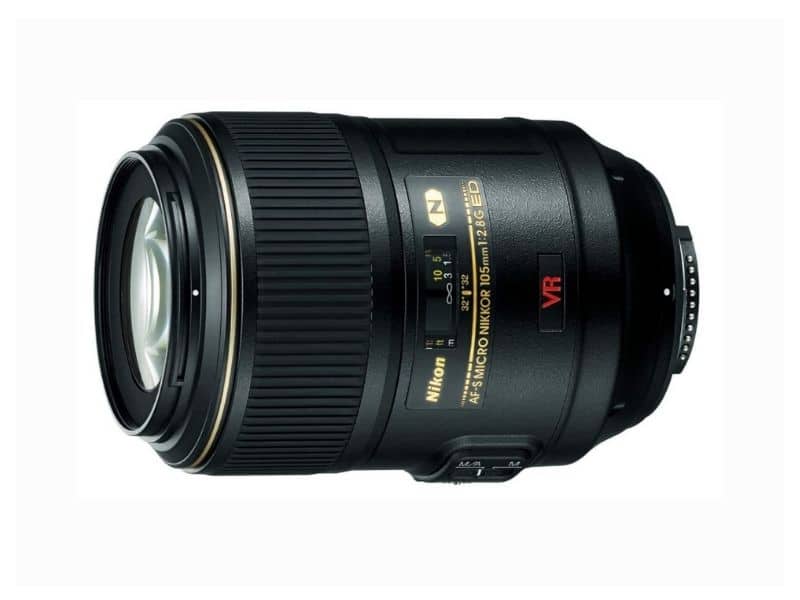
Nikon is known to be another top leading brand that comes after Canon and it has been providing excellent DSLR Cameras. And a wide range of different DSLR Camera Lens Types for decades. These lenses are just as expensive as canon’s and so you already know these are one of those guys. Which you don’t want to be lost at any cost. So, therefore, safe removal of the exteriors to get past the interiors of these particular lenses is important. Many of the times people get clumsy while removing the parts and end up damaging them.
Please keep in mind that even though these are camera lenses, they are removed differently than those of other brands.
So let us find out how you can get your hands on one of these and open it to clean off the dirt that is resting on it.
Instructions:
Firstly, you would need a pair of gloves as usual. Rubber gloves, in particular, should work the best. Then take your Nikon lens and a pair of small picks, preferably less sharp and made of rather soft plastic. Picks are a small piece of plastic that is used to strum guitar strings. If you down own a guitar then you can use something similar but please make sure it doesn’t contain any sharp edges of uncut plastic. From there on take off the plastic circular rim, being very gentle as you go.
Pull out one side with your pick or whichever similar tool you’re working with then take off the rest of the edges with your fingers very slowly. Set aside the rim in a safe place where you’re less likely to lose. Also, make sure to place the rim upside down as you don’t want to get the silicon adhesive to catch dirt and debris.
Just right after you take off the rim you would be able to notice that there are tiny screws underneath. The screws are most likely to be smaller in size than regular screws. So grab a small pointed screwdriver and start unscrewing the screws and do this until are able to remove all of the screws of the lens.
How to clean a camera lens?
Here, you will notice something different. As soon as you take off all of the screws the glass portion of the lens or the optical lens will come right off easily without any difficulty. You will be needing to gently take that piece of glass out of the lens and clean it well enough before resembling it.
So You take out your lenses after ages and place them on your DSLR Camera. As soon as you lay your eyes upon the camera you notice the picture is distorted. Unusually foggy and the view is blocked with some weird texture. To be more exact that weird texture thinly placed on the rim of your lens glass is none other than the good old Fungus. So what do you need to do about that? Well, the first and foremost thing that may come to your mind is to grab a clean cloth and a bottle of glass cleaner to remove the fungi. Right?
Well, I’m afraid it doesn’t always work like that. If you have read the previous topics, we’ve discussed two different camera lens brands and how you can take apart each of these lenses for cleaning. However, for this one, we’re going to solely focus on cleaning.
Instructions:
Here are a few tools you would need if you’re willing to clean your lenses.
- A piece of clean soft cloth
- A mini plastic air pump
- A Screwdriver (for opening the interiors of the camera lens)
- Warm Water and Soap.
- A pair of gloves.
Firstly there are two types of cleaning methods depending on the condition of your lenses.
If your lenses happen to have fungus then you need to do the following things:
- Grab a pair of screwdrivers and remove the glass of the lens.
- Gently take the glass in your hands and wash it with warm water and soap.
- Gently rub off the fungus with your bare hands. Remember, never think of using anything else than your hands while doing this process as the soft skin texture of the human hands are only suitable for such sensitive glasses.
- When completed washing it, grab a soft cloth or high-quality paper towel to wipe off excess water.
- Let the lens sit and the water evaporate and put it right back into the body of the camera lens.
If your lens is all in good form but there are only lint, debris, and a few fingerprints that are bothering you then repeat this:
- Take apart the lens glasses
- Grab a soft cloth and gently rub off the fingerprints off the glass. Make sure to always use a soft cloth. Never use your t-shirt for that.
- For the lint and debris that sits on the interior of the lens body, grab a mini hand air pumper and blow off any dust on sight.
- After done assemble everything back to its place.
Read next: How to Clean Camera Lens without A Kit
How to reassemble a Camera Lens after you took it apart?
So far, we have covered a lot on how you can take off camera lens parts and then clean, etc. But during the whole read through have you felt nervous that you may not be able to put it back in place? Besides, that, you may ruin your camera lens forever? Well, that is no big deal because we will also guide you through that.
Reassembling camera lens parts can seem like rocket science at first sight but it surprisingly is much easier. All you need to have is a little patience and be very gentle while doing too.
Here’s a quick tip: Every time take apart or reassemble camera lenses. And always remember to wear rubber gloves as it will prevent damage.
So once, you’ve worn your glasses we’re good to go and fix that bad boy right back in.
- Put back the lens body into the plastic cover of the camera lens.
- Then slowly and gently place the optical lens
- And place the 1st layer of the rim of the optical lens
- Then screw down the rim with those screwdrivers that you earlier saved.
- And place the next adhesive silicon layer of rim
And you’re done.
Conclusion
Taking apart a camera lens and cleaning it off sounds a lot harder than it seems. We learn a vital lesson from this article apart from the instructions. We got importance of maintaining your devices. Camera lenses are one good expensive electronic device. IF you don’t take care of it, then you will end up losing it, and your investment goes down.
Hence, How to take apart a camera lens to clean, no matter whatever devices you carry always ensure. And they have taken care of. Good luck with your lens cleaning and keep taking those wonderful pictures. You’re doing a great job.
As an Amazon Associate I earn from qualifying purchases.
Pingback: How to Clean Camera Lens without A Kit | Step by Step