
As an Amazon Associate I earn from qualifying purchases.
It’s a tough bet to search for someone who hasn’t heard about the camera lens. But it’s rare to look for one who has known of lens fungus.
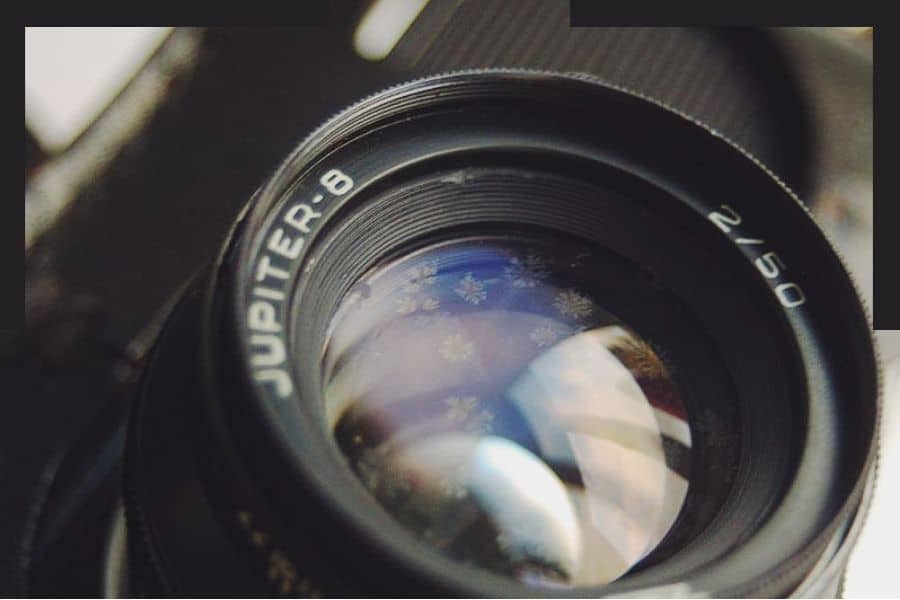
Lens fungus is a moisture and dust structure born in humid climates and finds a way to wave its grimy head into the camera lens.
It usually happens when the lens isn’t sealed from weather and practiced in tropical, pluvial areas. The fungus can look like small spider-webs or fuzzy spots.
If you leave it untreated, then lens fungus will cause deformed performance to your lens, and images will become blurry and hazy.
The infected lens can be repairable only if you eliminate dust and always clean your camera lens.
Deforming the camera lens and again attaching it piece by piece is a tough call. In case people always search for how to remove fungus from a camera lens. Let’s see what fungus is and how the cleaning process works.
Contents
What Is Fungus
A fungus is a living creature: yeasts, mushrooms, and molds that live as a single multicellular or filamentous body. It can live and grow forever in moisture climates until it is demolished.
The fungus can come in various kinds that damage the lens, including Fungi Imperfecti, Ascomycetes, and Phycomycetes, and many others.
How To Remove Fungus From Camera Lens
The lens is the oxygen of camera and photography, like trees to the human. The lenses are a preamble to fungus if they are left unrestricted and eventually cause damages.
There are a couple of ways to follow to remove lens fungus. Let’s get down to every nitty-gritty of how to remove lens fungus from a camera lens.
Using Water, Soap, and Vinegar
By following this step, you can quickly clean and remove hazy fungus from your camera lens.
- First off, you’ve to disassemble your camera lens from the camera. This one is quick and relatively straightforward. A few lenses are quite difficult to dispatch than others.
The dispatching method is practically the same. It’s the lens wrench, a key tool you might want to look for first because some lenses have to tighten and loosen holes in both flat and pointed tips.
- When you remove the front ring, the lens element will fall out simply from the core. Be sure to catch it when it comes out. Then a shining light can show you how much areas fungus covered.
Carefully, taking it through hot water and using liquid dishwashing soap will take care of the fungus. The liquid dishwashing soap can kill fungus, bacteria, and mold on the lens.
Simply touch and rub the lens with your hands. No special clothes are needed. Then cleaning the lens with an adequate paper towel will help it to dry.
- The next step goes to white vinegar. White vinegar is known as an effective anti-fungal liquid and prevents it also. So, pour a bit of white vinegar on top of the lens to impede water spots constructing the lens.
- Here the end step lands. Before you start the next step, dry out the lens with a paper towel again.
To prevent fingerprints and grease, make sure to use some gloves. Any gloves can work well; specifically, latex, white cotton, or vinyl gloves can live up to mark.
Now, slowly screw the rest of the ring back in place and tighten the tips with a lens wrench. You’re all set for your next photography session.
Using Baking Soda
As we’ve seen how vinegar works, now, let’s move to baking soda. Using baking soda may not require every lens, but it’s still a proven cleaning fungus method.
To execute this procedure, you have to collect some necessary materials. Including-
- Muriatic acid
- Baking Soda- one or two teaspoon
- Cotton buds
- Microfiber cloth
- Nitrile or Latex gloves
- Glass or ceramic dish
- Paper towel
Note: Muriatic acid is ugly stuff. Take your scruffiest jeans and t-shirt and wear them before you start working with the acid. And proper protection of eye and face, as well as hands, is mandatory.
So, with all security stuffs done, let’s begin.
- Disassemble the lens first (showed in the first method) and dry it out. Check out where the fungus has attacked and how much widen it is.
- Ensure an environment, which contrasts the fungus’s condition. Dry out the lens before applying acid over it.
- Then take a cotton bud and dip it in a capful muriatic acid. Mildly swirl it in the fungus-infected areas.
- The next move is a teaspoon of baking soda, and it will start reacting fast. Add some drops of water to create a paste.
- This paste will be slurry and grasp a new cotton bud to ensure all of the acidsare mixed up wholly. Scrub 30 seconds gently.
- After doing this, whatever left, clear it with a wet paper towel.
- When every process is complete, now it’s left to the microfiber cloth. Give an edge-edge to finish by the cloth or use an eyeglass cloth to do the same. This will work too.
Before leaving the table, reassemble your lens to the camera and go outside. Click some raw images and check if it’s shining like before. If it does, then you can start rocking again. Cheers.
Use of Hydrogen Peroxide
Cleaning fungus is a decent operation, but killing the infection from the core is a challenging task. If you clean the lens fungus, the fungus leaves its spores and brings possibilities to re-infect the lens.
So, let’s kill some fungus. To roll on this method, safety precautions are must-have tools at first. Gather all the tools and start working.
Besides, the lens fungus cleaning cost is pretty heft from a professional. It’s better if you can do it yourself.
So, hydrogen peroxide can wipe out fungus from the very core of lens and lens elements as well. According to the world-famous company Leitz, a blend of hydrogen peroxide and ammonia is an excellent method.
Hydrogen peroxide (2%), clear ammonia (4%), and distilled water (94%) are enough for the blend. This mixture should be kept for almost an hour before cleaning.
This process is included in the contemplation of destroying fungal spores. You can soak the mixture to whole camera lens elements or only the lens also. It makes a fruitful cleaning method.
Read next: How to store camera lens
How To Remove Fungus From Camera Lens Without Opening
In some instances, the lens can be affected very badly. Cleaning can be manifested in multiple ways, but not a successful outcome always.
So, here we will show you a way to clean fungus without opening the lens.
UV Light / Sunlight
Directly exposed to sunlight or UV light can kill the lens fungus. So, how does it work? Two ways are accessible here.
First One: Without opening the camera lens, this is another successful way to remove the fungus. You have to put your camera in an open place where direct sunlight hits the ground.
Keep it there for a few days regularly, and soon, there will be no fungus left. Make sure to remove the UV filter if you have attached any UV filter to the camera lens.
Remember that you have to put the camera in exposed UV light continuously. Otherwise, if the fungus leaves any spore, it can stay dormant for a long time when it finds favorable conditions again. So, ensure to leave your camera in a dry place.
Second One: If you aren’t fond of running outside, there’s an excellent choice to do this inside home.
It is named UV lamps, and they are quite affordable and found in the market. Take a stainless steel box and fit the lamps inside the box. When the box is set, land the camera with the lens inside the center of the box.
To remove dirt and absorb moisture entirely, use a half kilo of silica gel in the center. Cover the box with a steel lid that comes with holes, and it will help the silica gel to absorb the moisture fast.
Even if you killed the fungus and completely removed, the fungus can part some genes behind, which can be firmly stuck to the camera lens.
Fungal spores aren’t able to survive without a moisture environment. So, it’s not necessary to kill fungal spores. In some cases, I might advocate for x-rays to permeate inside the lens and remove fungal spores from the core. However, safety precautions are needed for this step.
How to Avoid Fungus Infection
There’s a saying goes that “Prevention is better than cure.” So, isn’t it better to avoid fungus before it ever happens? Let’s learn some tips.
First of all, to prevent fungal infection, you should keep your lenses dry and dry regularly. Please don’t put your lenses in the garage or kit bag; always use dry bags and place to store them.
Clean the lens’s outer surface regularly, so dust can’t make a house on the lens surface. And in the case of dirty places, it’s not the right idea to make them dirty first and regularly check if they are cleaned or not.
The kit bag you use for your camera lens should store nothing inside the bag except your camera and lens. Ensure your kit bag sharp and shiny.
Tests report claims that most lenses can help the fungus grow in warm, dark, and damp conditions. And, fungal spores are always there in most lenses, just waiting for the right situation. So, avoid these kinds of conditions.
Dry your lens regularly and store it in a dry place, and it will prevent the fungus from germinating.
Conclusion
Lens are safe from fungus if they are landed in dry places and pleasant conditions. Fungal infections are truly curable, nothing serious to be panicked about. With proper maintenance of the camera lens and other equipment, the camera can last over decades. A camera is the best friend of a photographer. Take care of your friend and create exciting memories. Enjoy!
As an Amazon Associate I earn from qualifying purchases.